Starting Your Own Quilting Journey

Every quilter started with a first quilt, and it rarely looked perfect. The joy of quilting is in the process: choosing fabrics, learning new skills and watching a quilt come together one stitch at a time.

The Steps to a First Quilt

  • Start small: pre-cut 5-inch squares make a simple, forgiving first project.
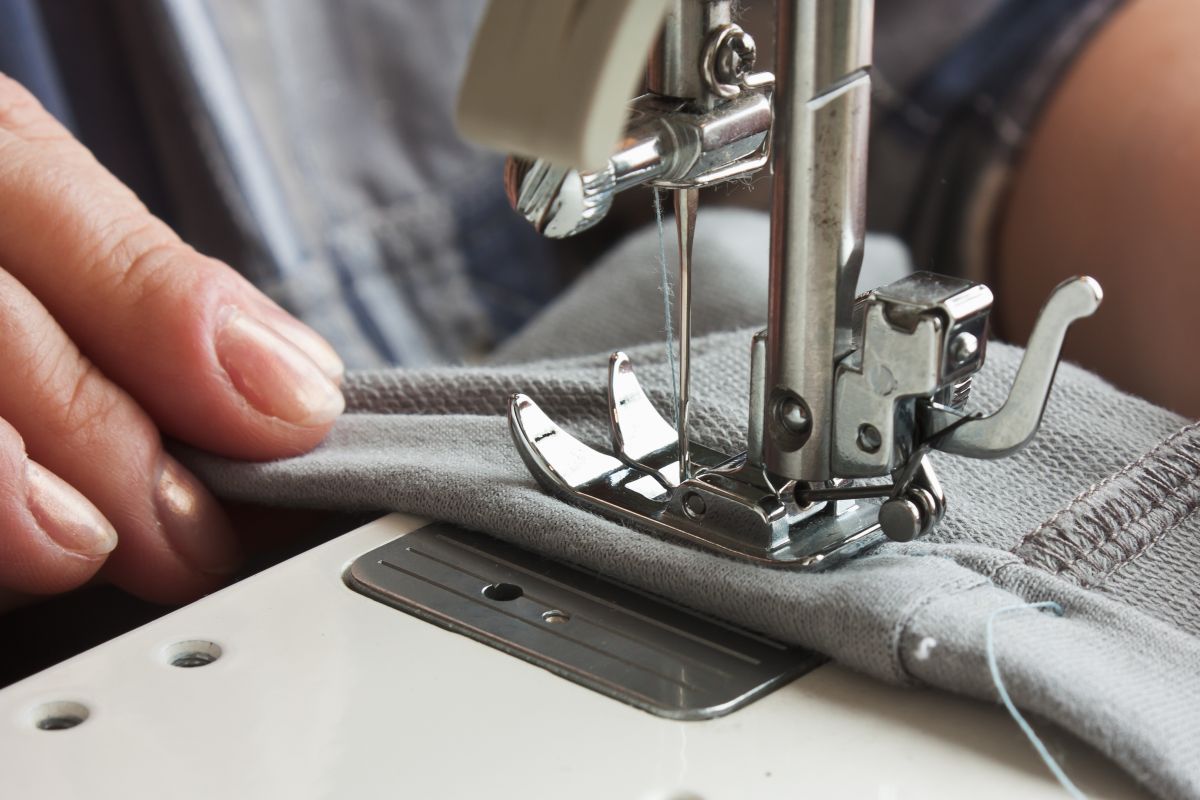
  • Sew the top: join squares into rows with an accurate quarter-inch seam.
  • Make the sandwich: layer the backing, batting and top, then baste them together.
  • Quilt it: straight lines are perfect for a first quilt.
  • Bind and label: finish the edges and sign your work.

Above all, enjoy it. Mistakes are part of learning, and every quilt teaches you something for the next one.

Watch: Your First Quilt, Part 1

Your First Quilt: Beginner Tutorial, Part 1 — Melanie Ham

Read about what inspires us on My Passion for Quilting.
By |2026-10-30T05:42:31+00:00September 3, 2025|My Quilting Journey|0 Comments

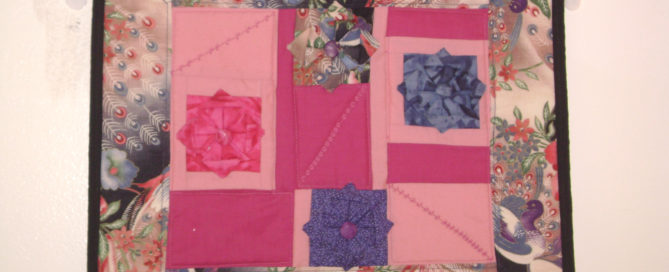
Make a Fabric Flower Brooch from Scraps

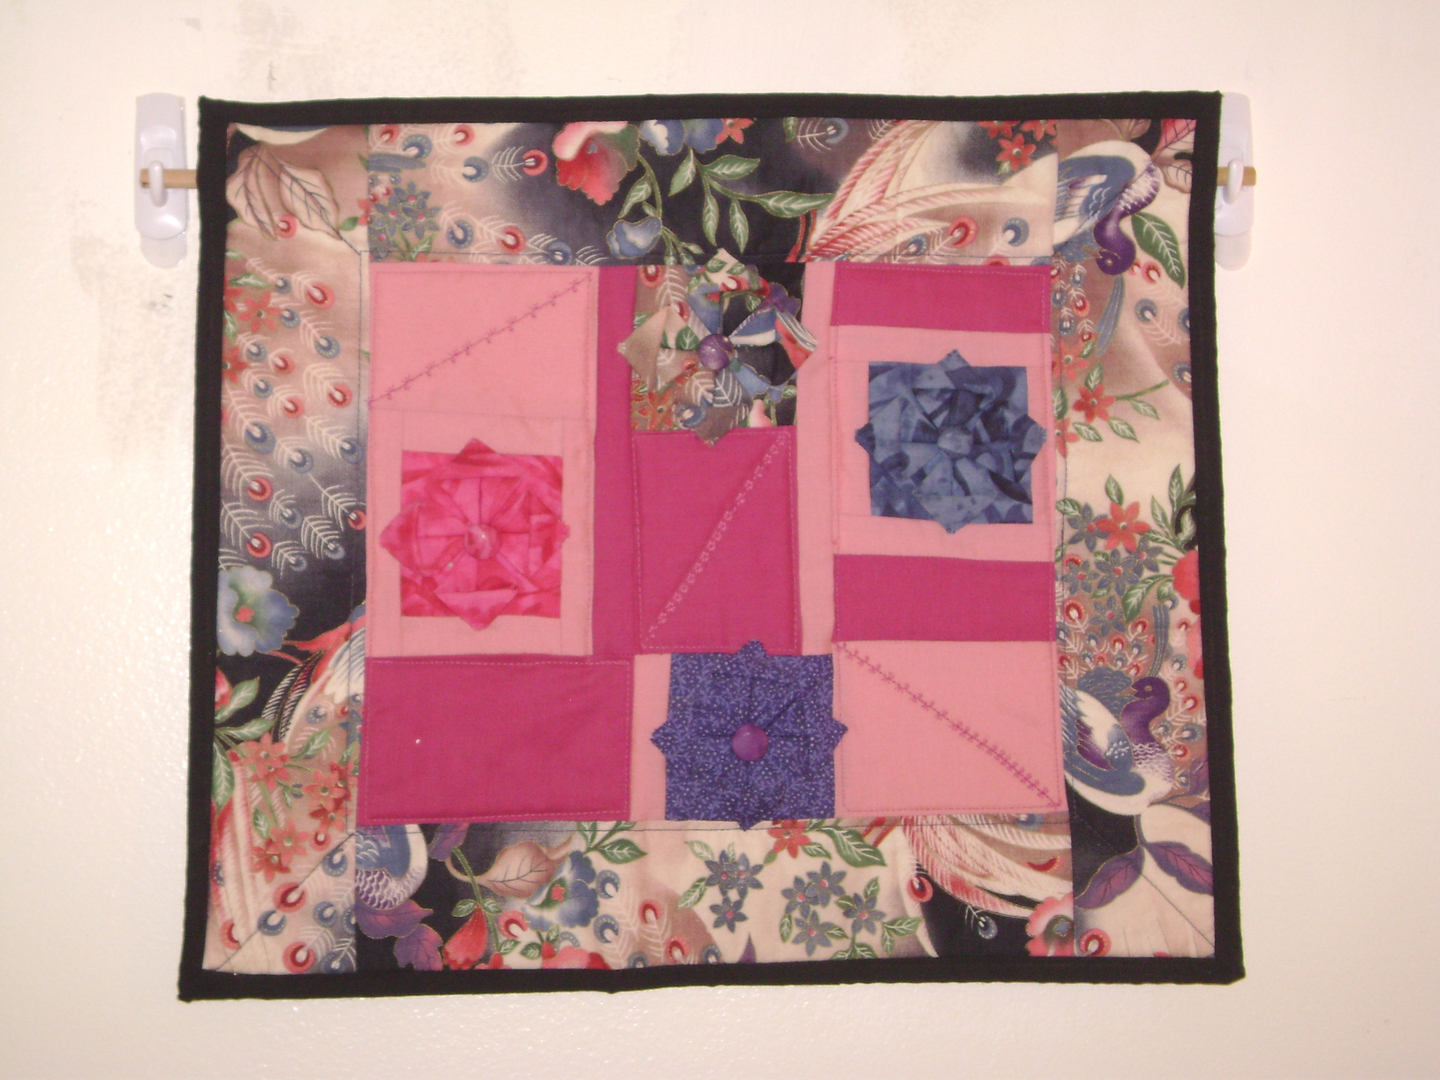
Every quilter ends up with a pile of fabric scraps that are too pretty to throw away. Turning them into a fabric flower brooch is a quick, satisfying way to use them, and the finished pin makes a lovely handmade gift.

What You Will Need

  • Fabric scraps (crisp quilting cotton works well)
  • Needle and strong thread, or fabric glue
  • A button or bead for the centre
  • A brooch pin back

The basic idea is the same as paper origami: fabric is cut, folded and gathered into petals, which are then joined around a centre. Pressing or lightly starching the fabric first helps the folds stay sharp.

Watch: Easy Fabric Floral Brooch

Easy Fabric Floral Brooch — Martha Stewart

Looking for another folded project? Try our Origami Flower Pin.

By |2026-10-30T05:42:30+00:00April 17, 2025|Origami & Fabric Crafts|0 Comments

Creating the Stained Glass Look in Quilts

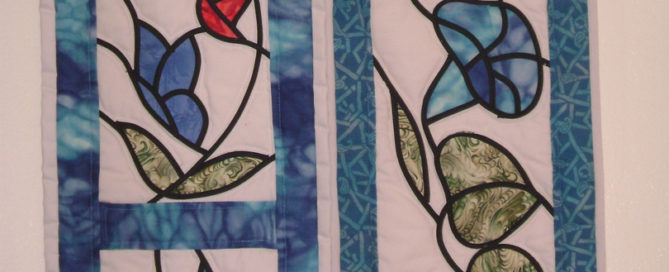
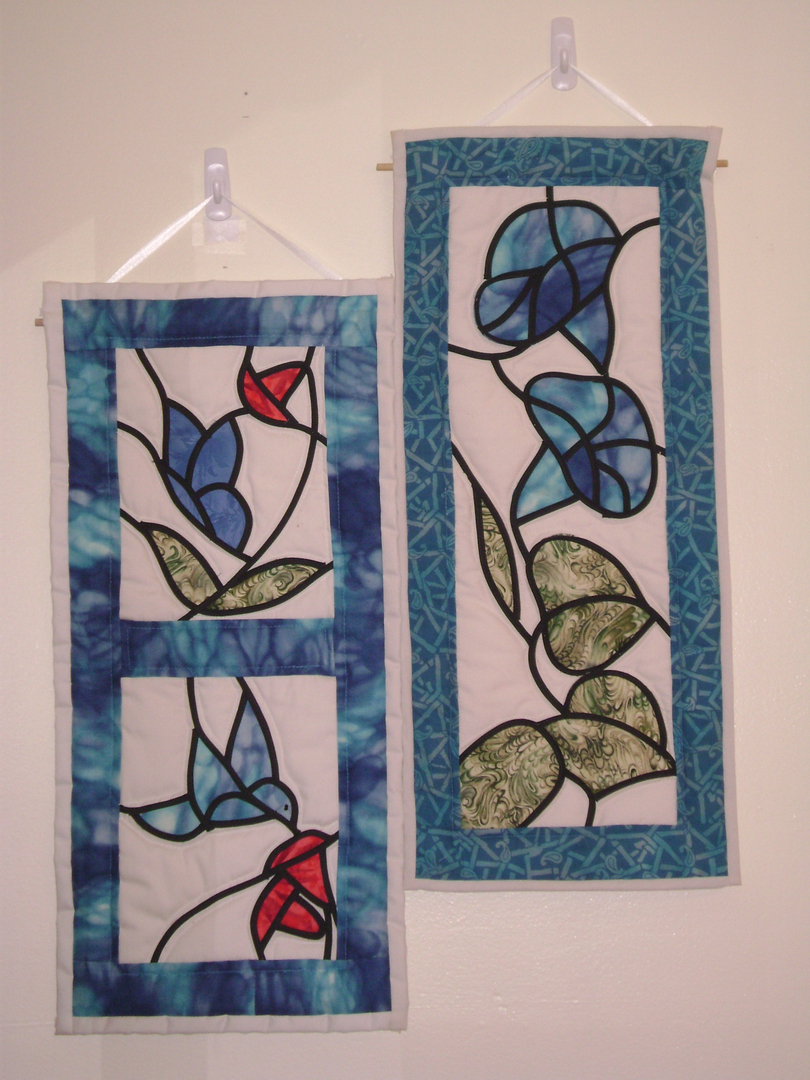
A stained glass quilt borrows its look from church windows: bright, glowing pieces of colour separated by dark lines that imitate the lead between panes of glass.

The Key Ingredients

  • Dark “leading”: black or very dark fabric, bias tape or sashing outlines every shape.
  • Bright “glass”: vivid solids or batiks give the impression of light shining through.
  • Simple shapes: bold, clear shapes read best once the outlines are added.

Quilters create the effect in different ways. Some fuse shapes onto a background and cover the raw edges with narrow bias tape. Others piece bright blocks with dark sashing strips between them, which is a beginner-friendly way to get the same glowing result.

Watch: A Quick Stained Glass Quilt Demo

Quilt Snips Mini Tutorial: Stained Glass Quilt — Missouri Star

See more on our Stain Glass Technique page.

By |2026-10-30T05:42:29+00:00November 21, 2024|Stained Glass Technique|0 Comments
Go to Top